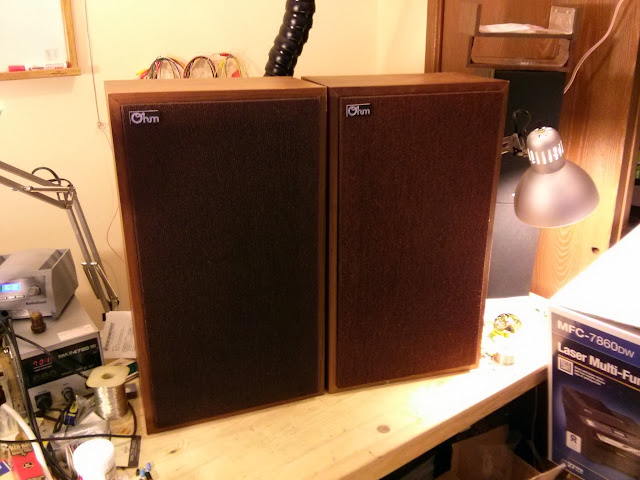
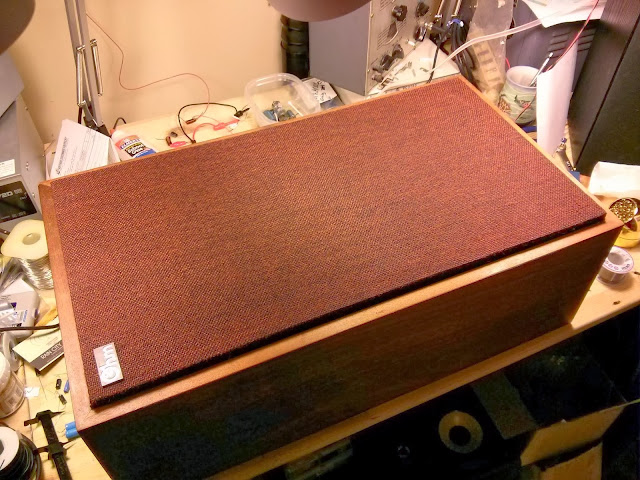
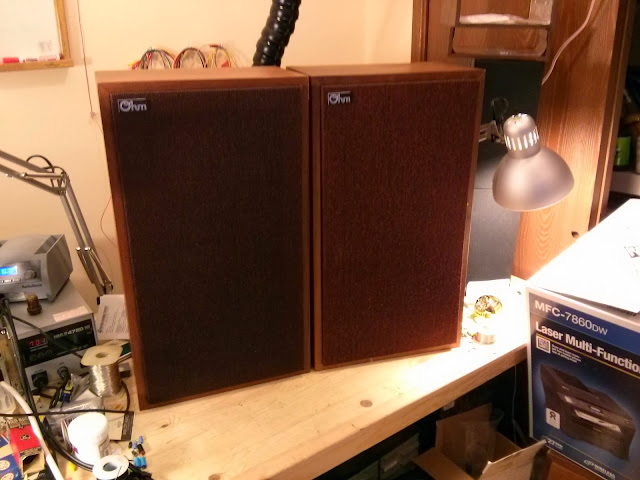
I’m always keeping my eyes out for interesting vintage hi-fi speakers from the ’60s-’70s, and found a nice set of Sansui SP2500s on Craigslist. Produced between 1960 and 1974, these beautiful walnut speakers are solid and very heavy – definitely high quality. I’ll share some photos below, and then dig into reconditioning them!
Here are the vintage ads for the Sansui speakers. Click on the image for the full-size version! The web site is down apparently, replaced with a placeholder park page redirecting to a spam site. Sorry, no vintage ad anymore! I should’ve hosted it here instead.


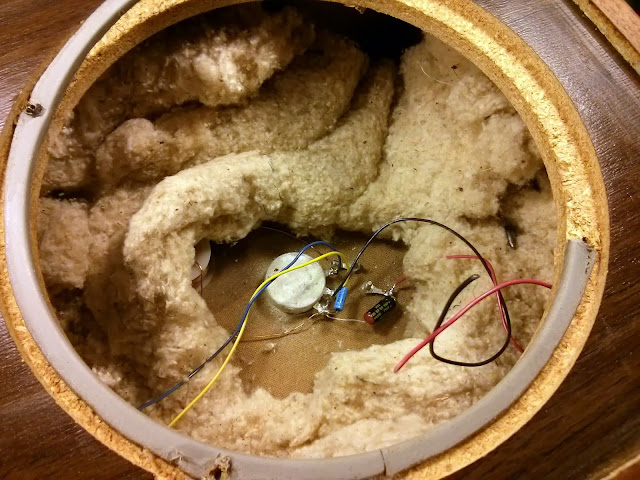
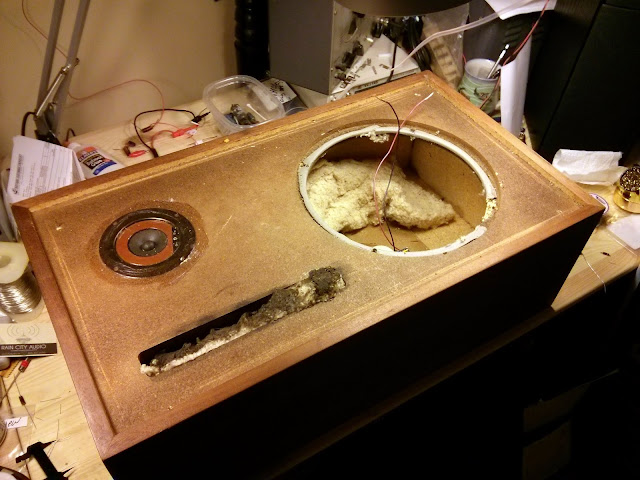
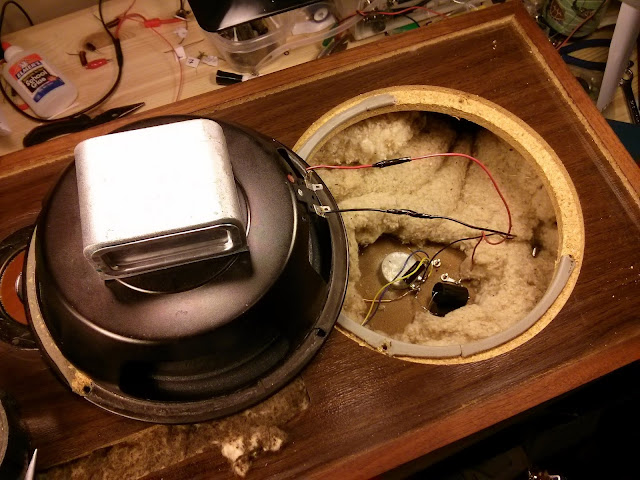
Unlike newer speakers (including a pair of Sansui SP7500X that are still waiting to be refurbished), these are very easy to remove. Six screws to remove the crossover panel from the back, disconnect the driver leads from the spade terminals, and pull out of the back. Like all older electronics, speakers also have components that can fail inside. The crossover network, distributing and filtering the amplified audio to the different drivers, contains capacitors which can fail with age just like the capacitors in an antique radio or in your modern electronics. It’s easy to forget speakers have parts that can degrade inside, when they’re almost always treated like a single box unit.
If you’re buying speakers from Craigslist and they have adjustable crossovers, make sure to check them on all settings to help assess their condition.

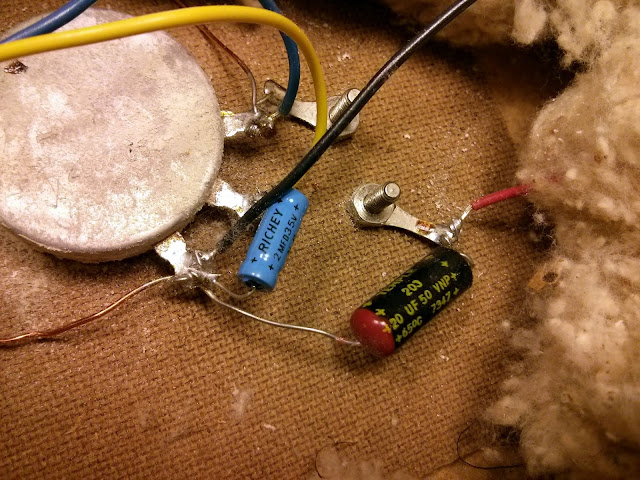
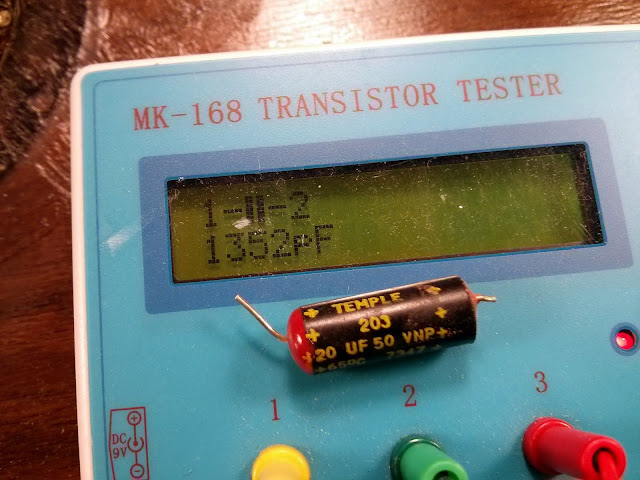
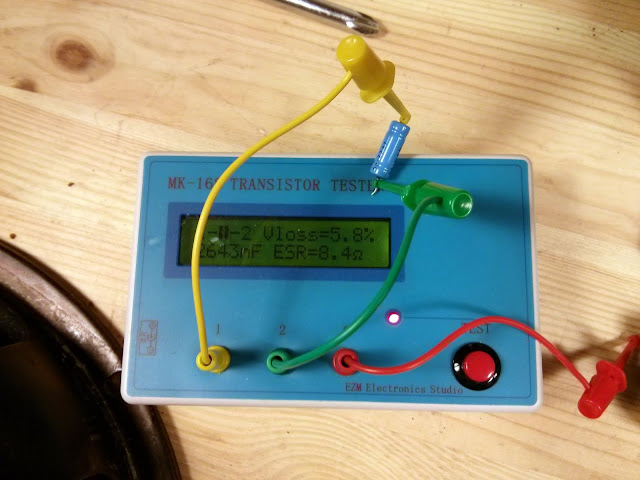
With the crossover removed, it’s easy to see the components that need replacing. The three blue cylinders are the crossover capacitors, in 2.2uF, 4.7uF and 10uF varieties. These are bipolar electrolytic capacitors, a special type that is slightly more expensive than standard electrolytic models, but they are required because speaker current is AC and must flow both directions across the capacitor. A polarized capacitor would be likely to explode if used in the same application.

Parts Express sold me everything I needed for these speakers, and a few others:

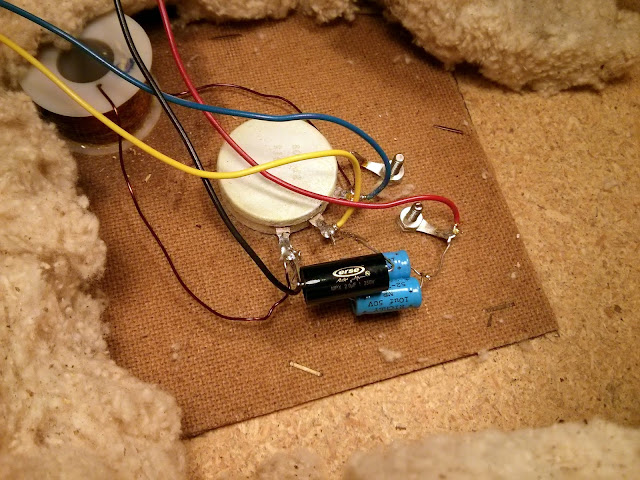
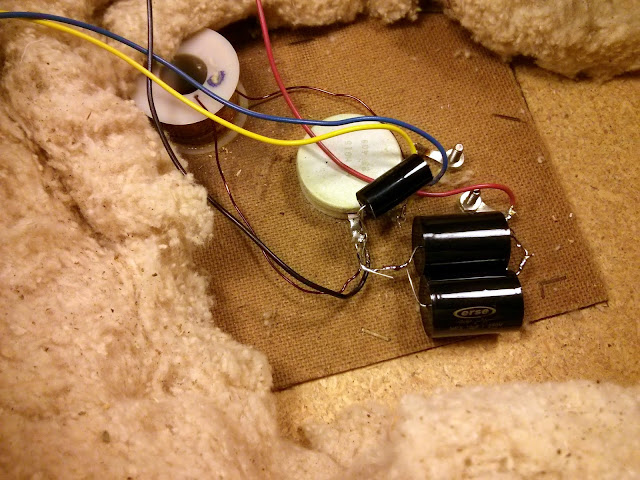
The old capacitors are glued to the board and I didn’t want to damage it, so I snipped the leads as close to the end as possible and bent them into terminals, then attached the new capacitor to the wire and soldered together.

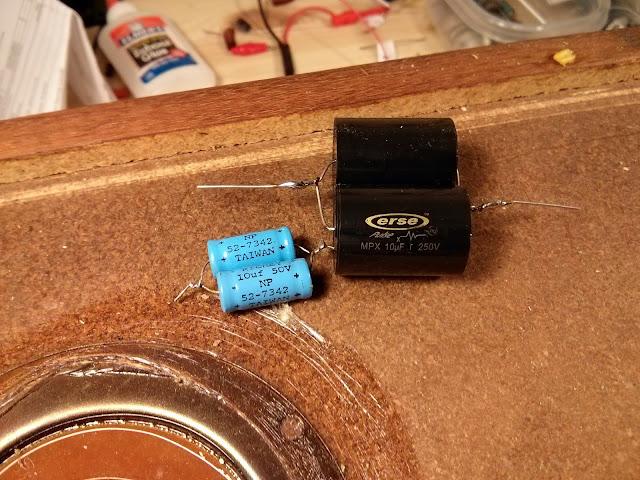
Repeat for the other capacitors, and after trimming the leads, much nicer:

Two speakers means two crossovers:

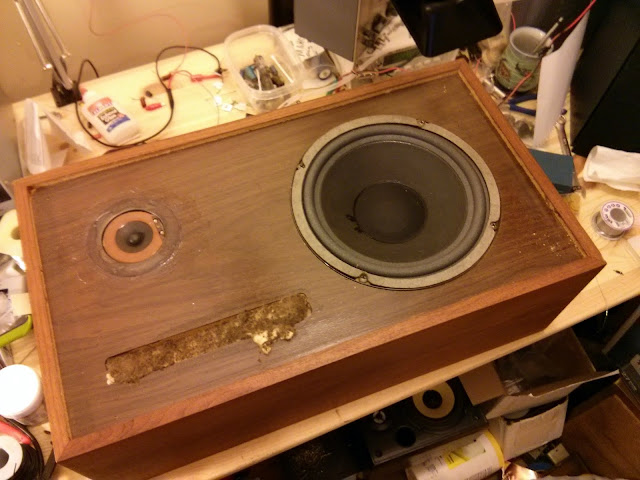
Reinstalled and ready to rock:

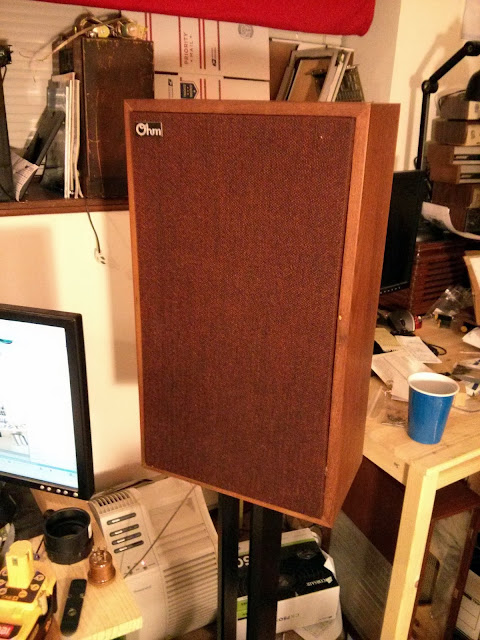
My only complaint now is the diffusers send the high-frequency audio straight into my carpet, when placed on the floor. I suspect these were meant to sit on stands somewhat. I’ll experiment with different positions for the speakers in my living room, but if it ends up not helping, the hole is symmetrical so I can just rotate the top assembly and now the speaker will send its sound up, towards my ears.
I have several more pairs of speakers – Sansui SP7500X, Bose 601 Series 1 and Cerwin-Vega D-5s. I’ll post photos of refurbishing their crossovers when I get to it.
My parts list:
- 2.2uF 100V Non-Polarized Capacitor
- 4.7uF 100V Non-Polarized Capacitor
- 10uF 100V Non-Polarized Capacitor
I used 100V capacitors both because that’s the lowest voltage in this type my supplier offered, but also because they’ll last longer if they’re intentionally de-rated and with any luck, this will be the last time I’ll need to work on them.
Total cost: $1.38 + $6 shipping to restore these speakers to original working condition after 40 years of service.